
After some long days and hard work I am happy to say that my new room is finally ready for the school year! I moved up a level and I have to say, the switch was really nice (and I have windows now!) It's amazing how much harder it is to find the time to get in to work on it once you have a one-year old! But alas, here it is! I'll work around the room counter-clockwise starting at my desk. Let me know what you think!

Here's the whole room looking in from the door. I made the choice to go with tables instead of desks this year as a way to help my kids stay more organized and avoid desk clutter. They really won't have a choice but to put things in folders. The table group signs you see are my Chevron Polygon Posters and Group Signs and they're free! I just printed 2-sided and laminated them before hanging them up. You can read a post here about why I think educational group names are the way to go.

I've tried my small group table all over the room in the past. This year I decided to make it a part of my desk to keep all of my stuff in one place. Under the table I have a set of drawers I use to organize all of my materials for my reading groups.

Toward the right of my kidney table you can see my turn in drawers. I have a sign above the reminds students to only turn in their best work. During the first couple days of school I'm going to introduce this to them and tape a strip on the floor in front of the drawers. Then, I'll teach them how to stand at the strip and make sure they are absolutely sure they are turning in their best work.


My large bulletin board is ready for writing anchor charts and my growth mindset sort. This sort is part of a product I created called the First 2 Weeks of Reading. It's brand new and available on Teachers Pay Teachers! I actually don't love the fabric for this bulletin board right now. It went well with my chevron theme in my previous room, I reused it to save a little $. I'd like to switch it to a solid color in the future. Above the board are my self-assessment posters. You can't see very well with the glare, but it's a 1-4 scale. I always define for my kids that a 1 means they really need help with the concept, a 2 means they're getting there but still make mistakes sometimes, a 3 means they've got it, and a 4 means they could teach it to someone else.

I couldn't resist a pic of my own little reader. Isn't she adorable?

I get my class rules from Smart Classroom Management. Here is one place they are posted. You'll see them in another picture on the other side of the room and they will also be posted in the front of the room on an anchor chart after the first day of school. Right below this set of rules is my take-a-break desk. This is the second consequence (after a warning) when students break a rule.

This year I am trying out morning bins. I have 6 tables, so I'm setting up 6 activities in bins each month to rotate through. My bins include: Roll-A-Story, Board/Card Game, Simple Art Activity, Math Manipulative Activity, Building Materials (legos, knex, etc.), Brain Quest. They aren't quite ready yet, but they'll get there.

Here is the corner where I have everything needed for guided math set up. I am really excited to have a designated place for everything guided math. I organize my groups using North, East, South, and West. The board is blank now, but once we get started I'll have a schedule with four 15 minute rotations. Our rotations will use the acronym M.A.T.H. which stands for:

- Mrs. Douglas (Small Group)
- At Your Seat
- Technology
- Hands On

The cart holds my class set of i Pads, which are new to me this year. I'm using the wire drawers to organize the hands-on activities for my groups such as task cards or games. The blue drawers are any addition math supplies like dice, cards, etc.


My calendar and I can statements are ready for the first day of school! I'm disappointed with how the picture of my I can statements looks, because I think the border looks nicer and the board looks cleaner in real life. I laminated the border knowing that it will get dirty with Expo marker very quickly.


To the right of my I can statements is my Smart Board. I didn't get a great picture of the whole set up here, so I'm using one from a few weeks ago when I wasn't quite done with everything. Under the right side of my whiteboard I have a Morning Meeting schedule on the wall. My morning meetings are on the quick side and what we do rotates by the day of the week.
- Movement Monday - We do a greeting that let's the kids move around to help them wake up.
- Tone Tuesday - We greet each other in a certain tone of voice.
- Words of Wisdom Wednesday - I show an inspirational quote (usually just taken from Google Images) and we share about what we think it means or how we can apply it.
- 13 Second Thursday - In my school we have PLCs on Thursday mornings, and 2 weeks a month are extended PLC times, so I've sorted my greeting cards (free on TpT by Sarah Gardner) by day and found some very quick ones. We do these on Thursdays.
- Fast Friday - The kids love this one. On Fridays we hold hands in a circle to see how fast we can make the "squeeze" go around. The star student gets to start it and calls out when he or she feels it come back around.
Embedded in this time is also my character education time where we discuss our monthly character traits. I use an awesome resource created by The Teacher Next Door and I love it!


Up next is my easel (and the message from open house), then to the right of that is my library. I made the decision to sort by level this year instead of genre. It was a lot of work and I'm not quite done, but we use Reading A to Z weekly books and quizzes and I think moving up to new book bins will be really motivating for my kids. If you like these labels by 180 Days and Counting, they're free! You can grab them here!


And we're working our way around to the corner. This counter area is supply central. Any supplies kids need can be found here including tissues, extra pencils, construction paper, and glue sticks.

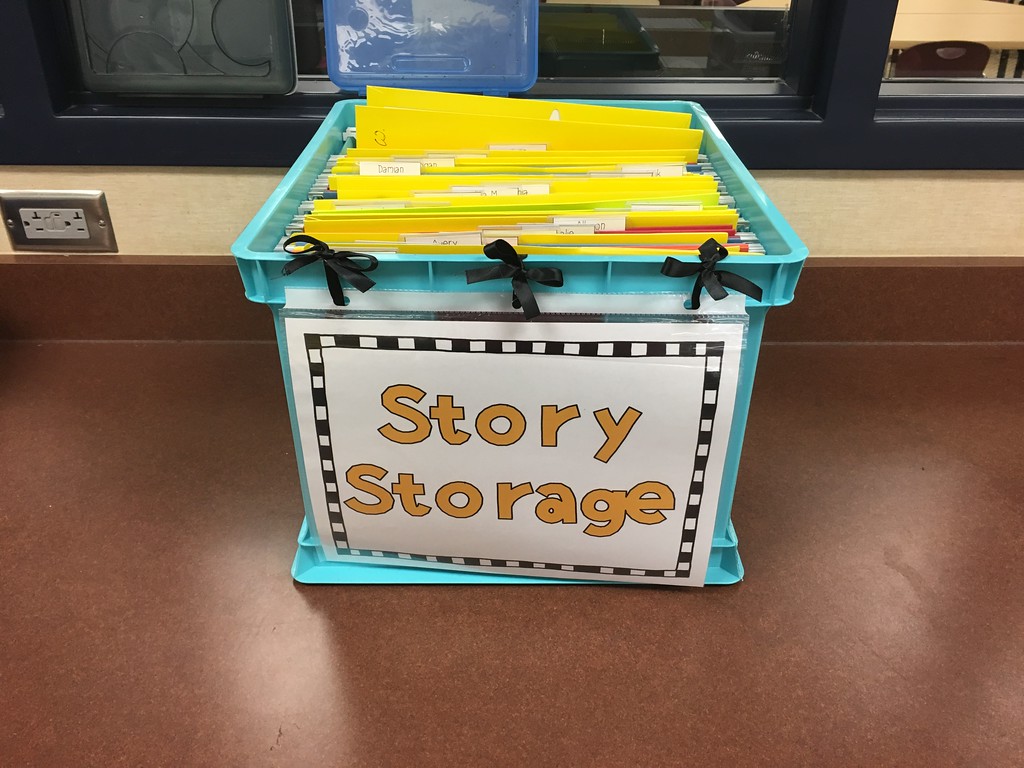
My story storage is also kept here. This is where students will keep their finished or ungraded writing assignments as well as their composition notebook for their Roll-A-Story (in the morning bin). I whipped up these labels (including the ones on top of my bookshelves) using a font from Coutrney Keimer. Ck Dope is probably my new favorite right now. It's fun and chunky! I, of course, needed to buy the commercial use font pack, but they're free for classroom and personal use, so go ahead and check them out if you're a font-freak like me!
Here we are back at the door. I have my shelf here that holds my students' creativity boxes (organized by table group). Since my students have tables instead of desks, we keep their creativity boxes (read pencil boxes) here in nice, neat stacks. The kids who came to open house have theirs ready to go! Games for indoor recess on cold, Minnesota days are also stored here.

To organize the rest of their things, I bought 6 sets of drawers from Target and begged our amazing school custodian for 6 mores desks to put them on. I'm also reusing caddies from a couple years ago to keep pencils, highlighters, scissors, and glue sticks. You can see the chair pockets on their chairs that will be used to store their independent reading books. Their planners will be kept in binders in their mailboxes to the left of my desk. A place for everything and everything in its place!
I might be getting a little crazy here, but I've even color coded name tags (not pictured, since that would jeopardize the privacy of my students). Students with...
- Pink name tags get supplies out of the caddy for their group.
- Yellow name tags get folders out of the drawers for their group.
- Green name tags pick up the whole tables' creativity boxes when needed (or any other supply such as clipboards)
- Blue name tags turn in assignments (minus quizzes and tests, which follow the procedure I outlined above).


These mailboxes also help me organize my copies by day. The top row and the first two in the second row are labeled "Monday-Friday" and "Next Week" so that when I get copies back they have a place to go. It's not pictured, but I also have a drawer meant for other things that don't fit in the mailboxes, that way I can avoid clutter on my desk and table.
I cover my tall cupboards with plain butcher paper so we can keep track of all the books we read throughout the school year. It's an idea I stole from my team and I love it! It looks boring and plain right now, but soon enough it will be covered with book titles!

And there you have it! When I moved classrooms I made it a point to store things in a way that would be easy for me to maintain organization. I have labeled every drawer and cupboard with what's inside so I have no excuse not to get things put where they go. I also decided to get rid of some of the visual noise I had up that wasn't serving a purpose and go for more of a calm atmosphere. Most of my wall space will be reserved for anchor charts that align with our current learning.
Meeting my new crew on Wednesday was great, I can already tell I have some sweet kids in my class this year. I can't wait to get started!
-Interventionista
Thank you for some very creative ideas!
ReplyDelete